I've accumulated a large number of books in a short time… 90% of my books were FREE from Scholastic Book order points and donations! Now I needed to come up with a system to organize my library! My books at the time are organized by author's last name.
The Library Dilemma:
I strongly encourage my students to read for enjoyment by choosing their own books. In the real world, readers have a favorite genre. We can go in the library or the store and find a book we want in the genre section… like mystery… science fiction… traveling… cooking… or poetry. But when you have a library like this where every genre is mixed in, how can you find the next book to read when the mood strikes to read a dystopian novel?
This is the 'before' picture of what
my library looked like…
The Overhaul
I did some browsing online… many teachers opt for organizing books by baskets or bins. The problem with this is that I didn't have the space for all the bins and I felt it encourage students to pick books by its cover. I wanted something that's more authentic for middle school and practical especially now that CCSS is pushing for more literature skills that incorporate analyzing different types of genre and incorporating them into writing. So another teacher inspired me to color-code my library…(idea is credited to
Lessons with Laughter)

I modified the labels idea so it would fit my vision… instead of color-coding books by author's last name to help students put the books back where they belong (like how the teacher used her color-code labels), I color-code my books by genre!
I also saved $ by creating the color-code labels myself at home using Avery 8160 labels. I picked the colors I wanted and printed the entire sheet in each color. Then I would stick the labels on the books.
Color-Coding the Books by Genre
I chose 10 genres and designate each a color…
1. Autobiography & Biography
2. Realistic Fiction
3. Historical Fiction
4. Mysteries
5. Science Fiction
6. Fantasy
7. Traditional Literature (i.e. folklore, mythology, fables, classics, etc.)
8. Poetry
9. Graphic Novel
10. Informational (non-fiction)
I created and laminated the color-code genre sign, "Navigating the Library by Genre" and displayed it next to the book shelf for the students to refer to.
The Final Step - Leveling the Books
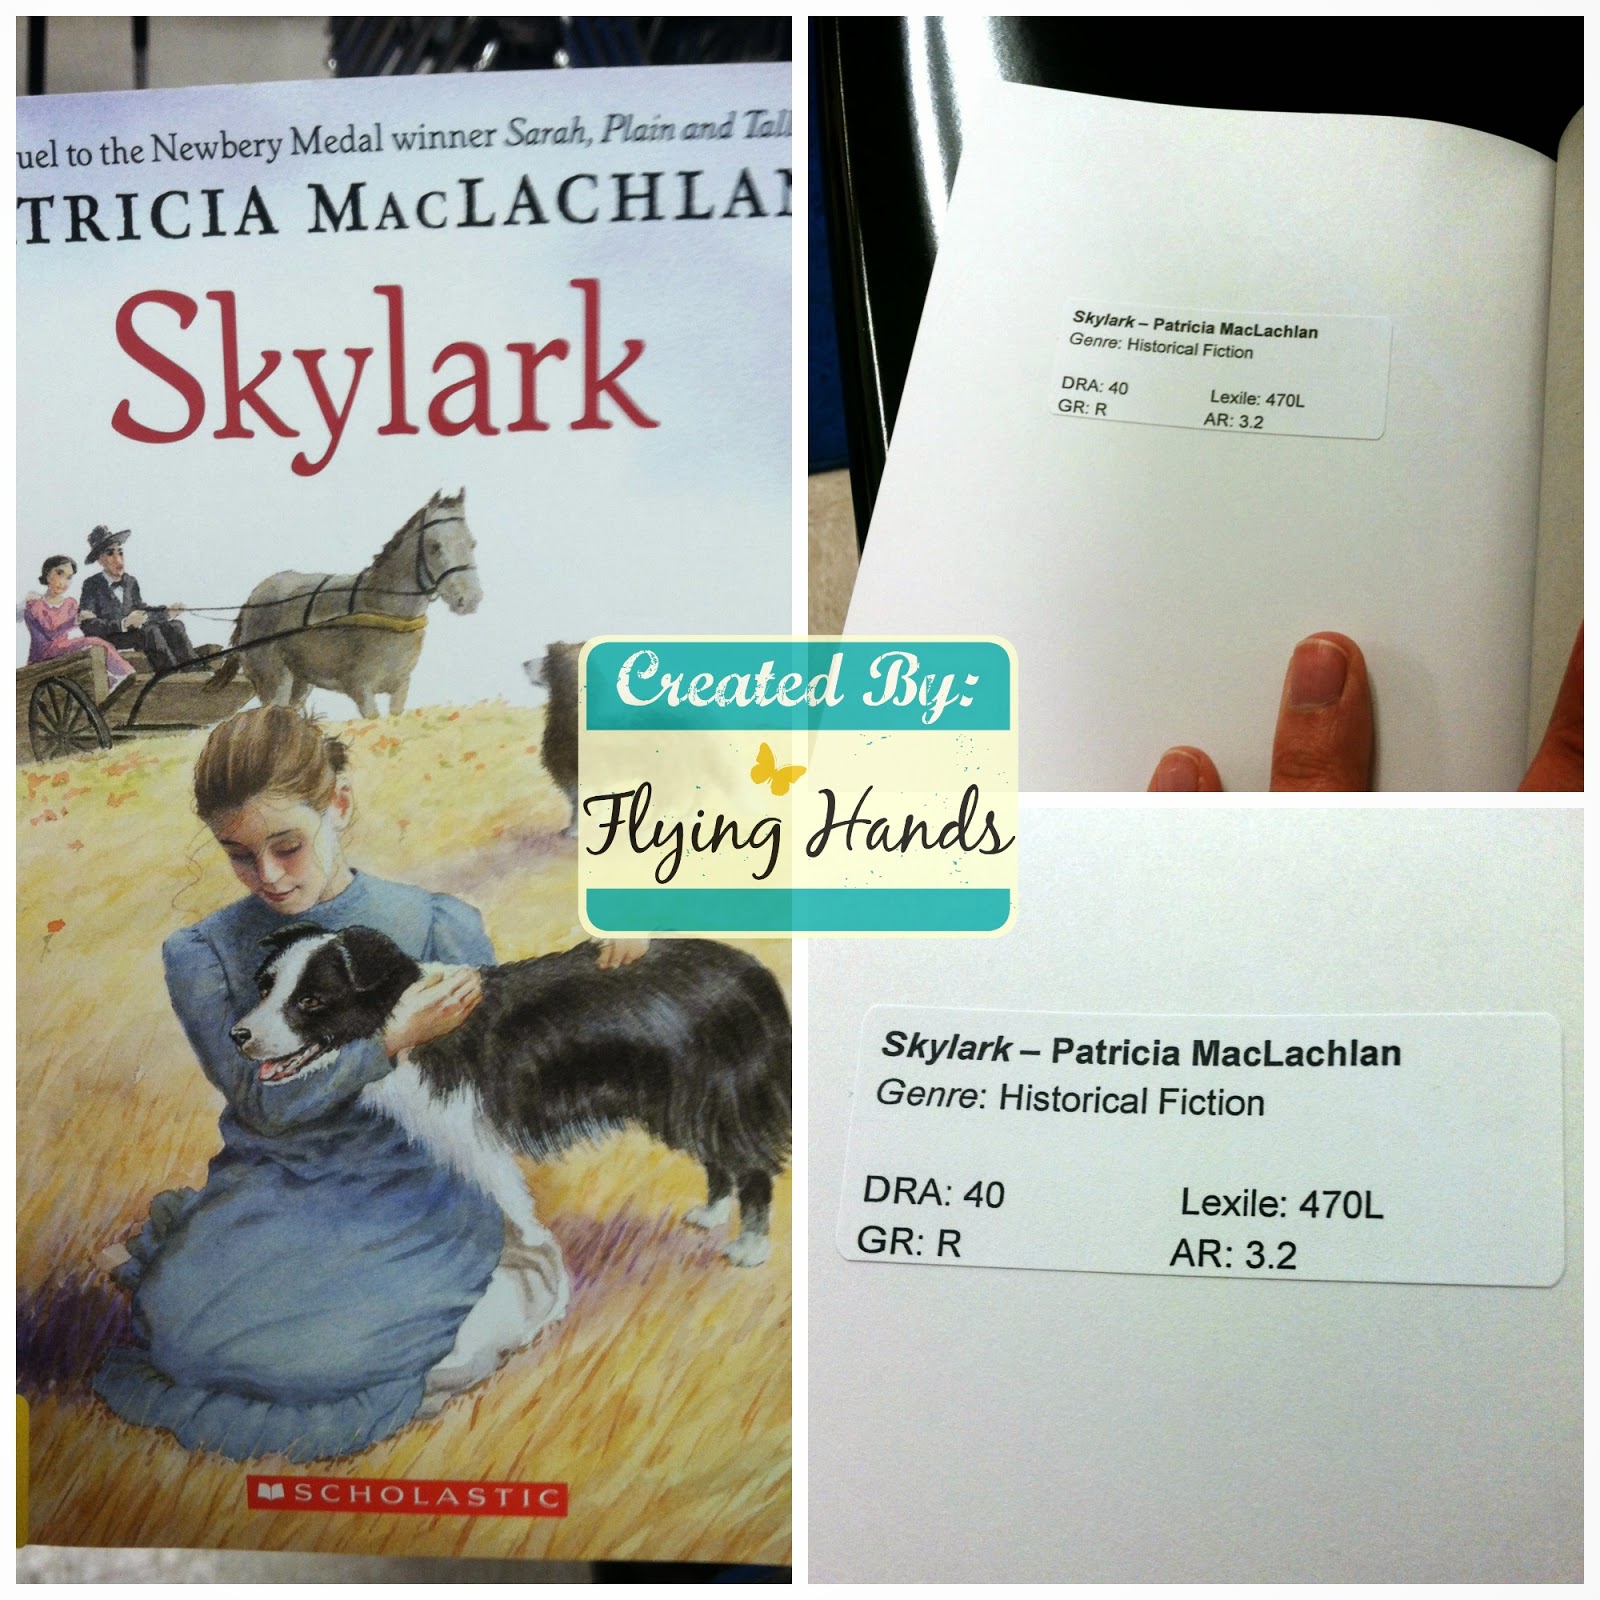
Any classroom library should have some kind of leveling system to help readers choose books and teachers to recommend books. So I used Avery 8160 template to create simple leveling labels that goes on the inside of the book cover.
I used arbookfind.com and Scholastic Book Wizard at scholastic.com to level my books. I recommend that you level label and color-code at the same time, much quicker that way! Scholastic Book Wizard will also show the book's genre.
You can download the
template I created for labeling your books at my TpT store for free!
The Final Touch
Majority of my students are Deaf/Hard-of-hearing, CODA or SODA… so I added special labels for books that features those characters.
Ta Da!
How my library look now!